Taking a screenshot with an iPhone is as simple as turning off the iPhone.
Apple phones have changed little by little over the years, but the biggest design change was the introduction of the iPhone X in 2017. iPhone X introduced Face ID, but also removed the physical home button from Apple phones. And it had been the primary method for taking screenshots for the previous decade.
But thanks to Apple's change in the placement of the sleep/wake button, even older iPhones now take screenshots in a different way. iPhone 6 moved the sleep/wake button from the top of the phone to the right side, so the original iPhone SE and while the same button is pressed, it is pressed in a different location.
Confused? Not if you read our guide on how to take a screenshot with your iPhone.
1. simultaneously press the Sleep/Wake button on the right side of the iPhone and the Volume Up button on the left side.
2. Quickly release both buttons.
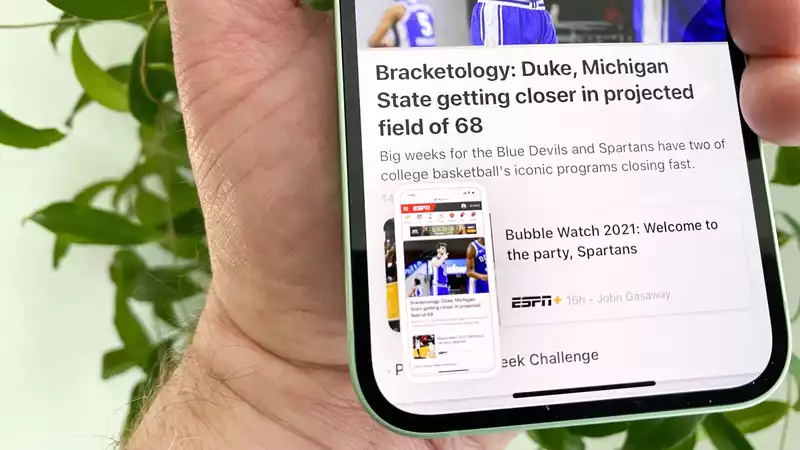
With the latest version of iOS, a screenshot will briefly appear on the screen. To add a screenshot to the Photo Library, swipe the screenshot to the left. Tap the screenshot to open it and edit it.
Once you have edited the screenshot, you can crop it or mark it with markers in different styles and colors. You can also delete a screenshot by tapping the trash can at the top of the screen. (Note that you can tap on the image to edit the screenshot no matter what model you are using - this is consistent behavior across iOS 14.)
1. Simultaneously press the Sleep/Wake button on the right side of the phone and the Home button on the bottom bezel.
2. Quickly release both buttons.
As before, a screenshot will briefly appear in the lower left corner of the screen, ready for editing.
1. simultaneously press the Sleep/Wake button at the top of the phone and the Home button at the bottom of the screen.
2. Release both buttons.
As with the other phones described here, a screenshot thumbnail will appear. Tap to edit the screenshot.






Comments